Sarahs guitar blog:
March 17th 2013
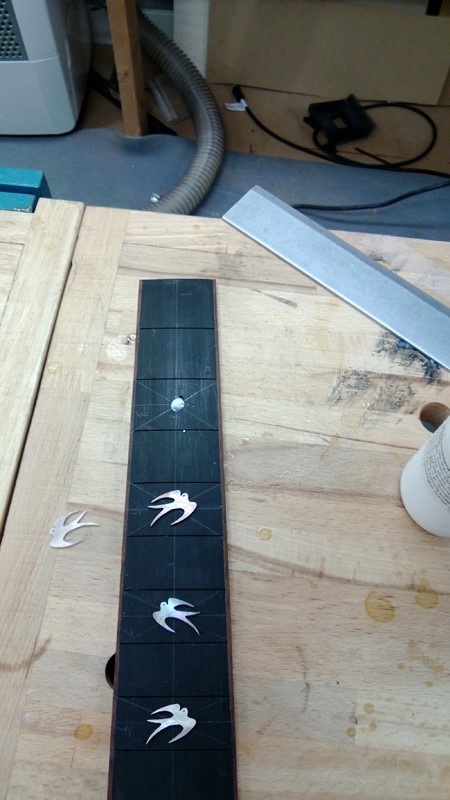
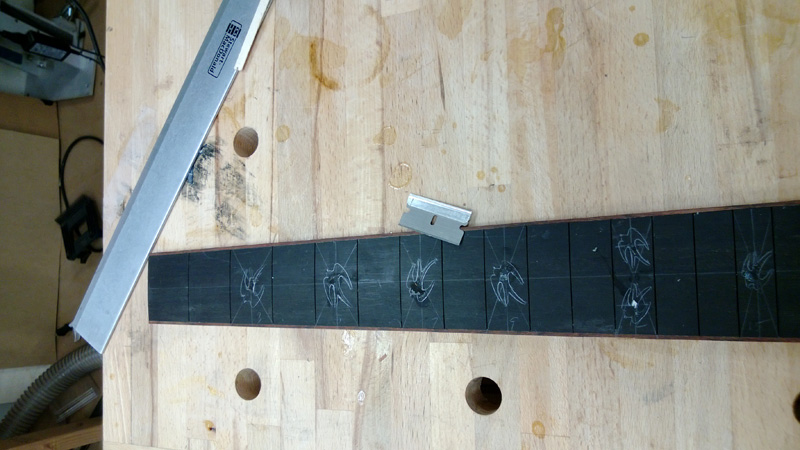
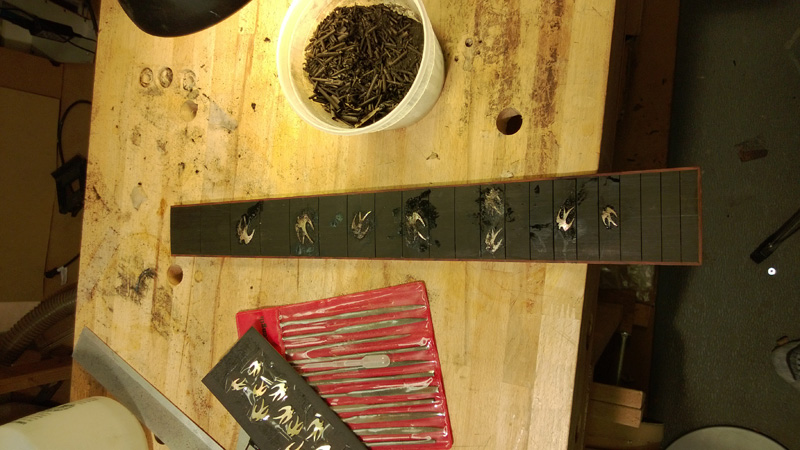
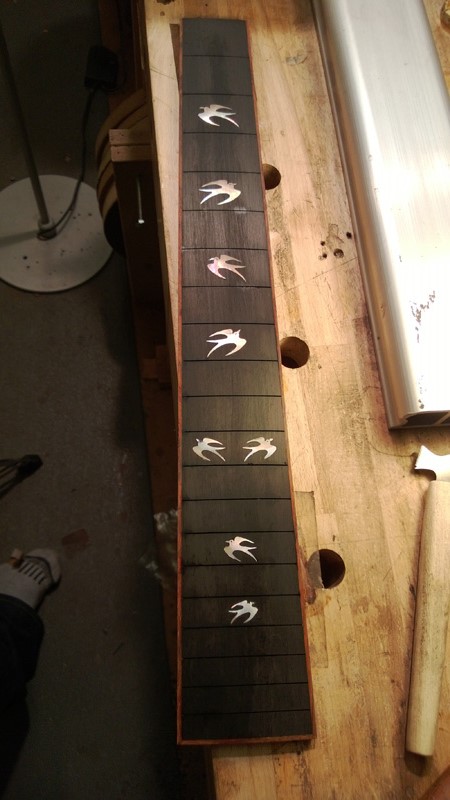
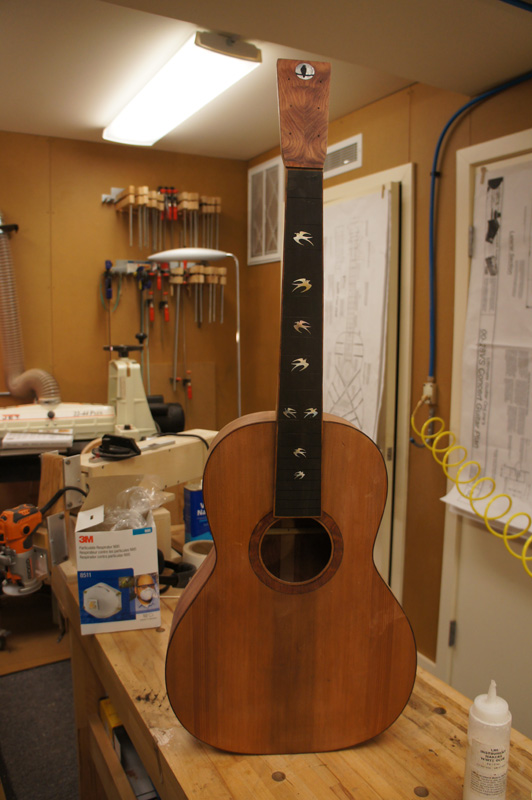
I put the inlays in the fret board today. Thank goodness for ebony fret boards. I am not sure I am ready for rosewood yet. I am getting better with the router but I need to work on making a nice clean line. I used a pencil this time, the next time I will try a sharp awl scribe and chalk. The other thing I will try next time is to route the inlay rebates before I radius it. The top birds were long enough that the radius did matter.
In any case here are the pictures of what I did
I used a dab of LMI glue to tack the inlays down where I wanted them and trace them with a pencil. I routed the rebates with a pneumatic micro die grinder. I just used the ebony routing dust with CA to fill my mistakes.


March 23th 2013
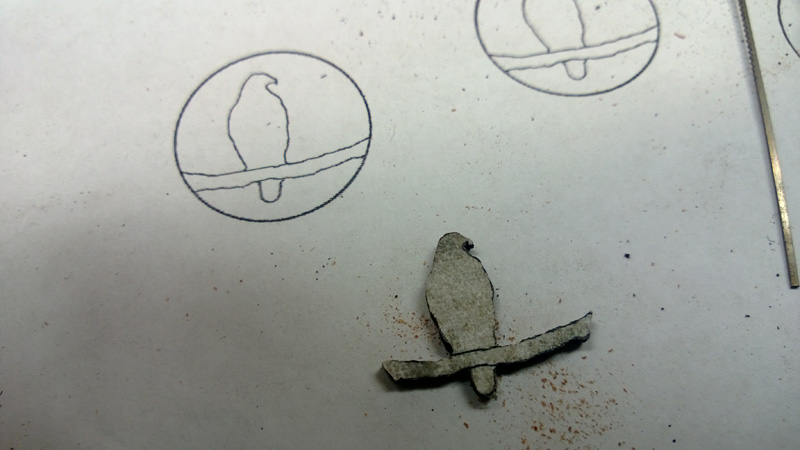
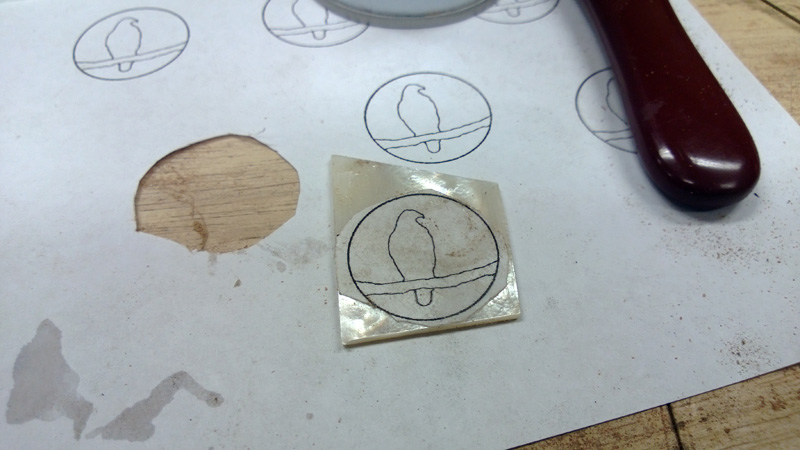
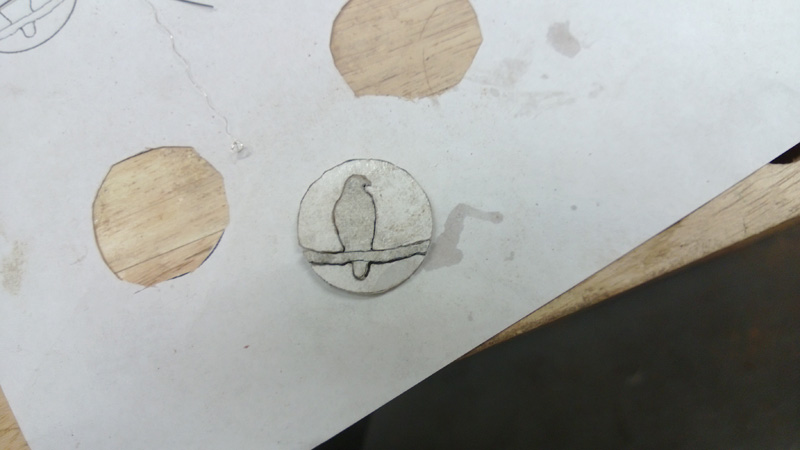
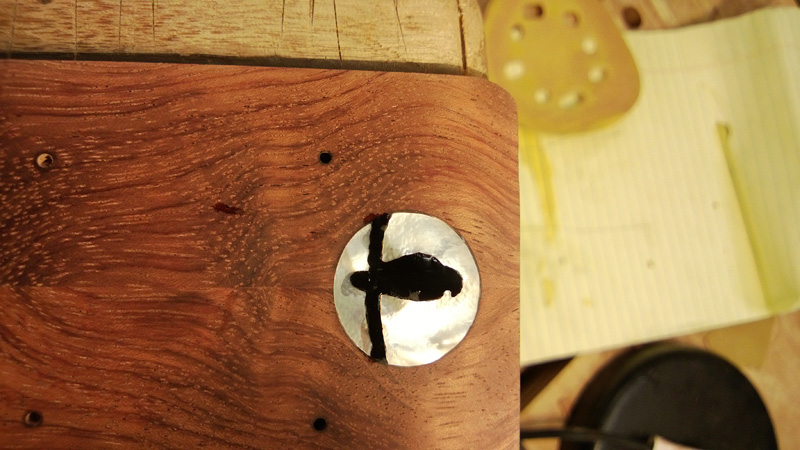
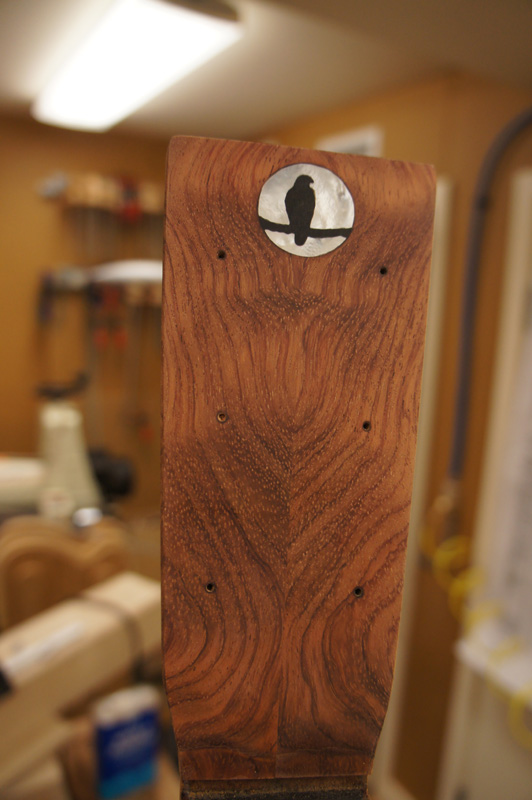
I finished the construction of the 00 today and am ready to finish sand. The last step was to make my hawk in the harvest moon logo. While I use the same template I have been changing the way I make it. Mostly I have used shell for the moon and the hawk and ebony for the branch. I tried and liked an all shell white MOP for the moon and one black MOP piece for the hawk and the branch. This time I made the hawk and the branch out of ebony. This may be a keeper.
To complete the blog I am showing a series of pictures of how I make the logo. Hard to show in the pictures but this worth noting, to cut the pearl I used 000 heavy metal cutting blades from Germany. The pearl cut like a dream; cutting way easier than the 000 LMI or Stewmac blades I had.
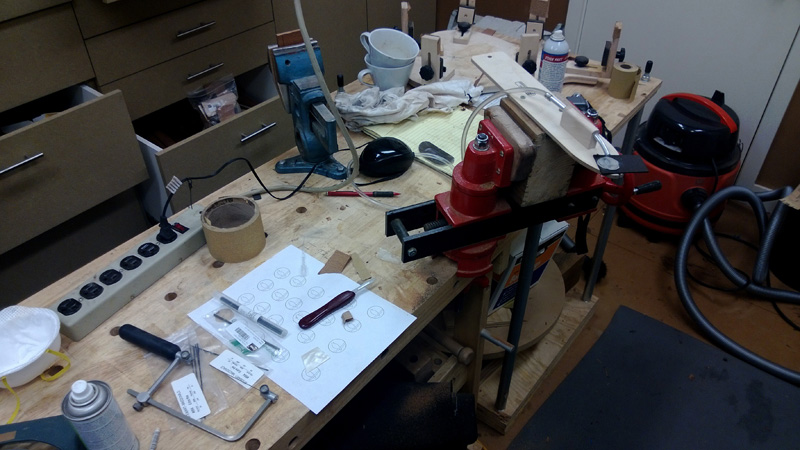
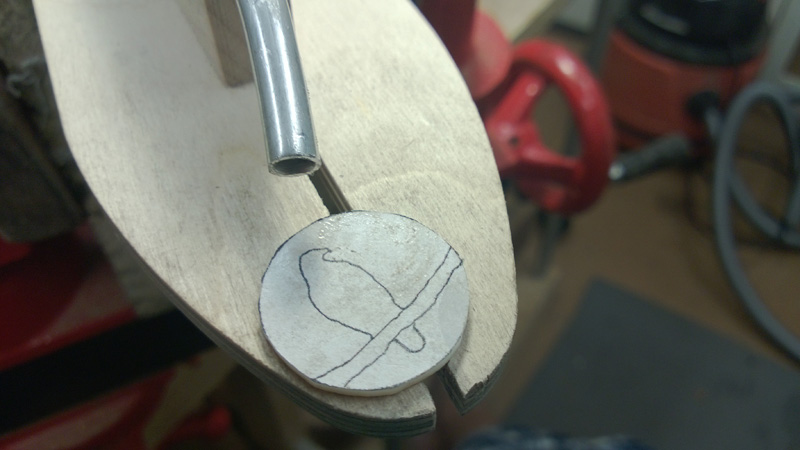
Here is my setup, note the pond aquarium pump, cutting requires that you can see, these pumps are noisy but having a clean line to see make all of the difference. I am sort of blind up close so I use a combination of 2.5 reading glass with a visor I got from stewmac.
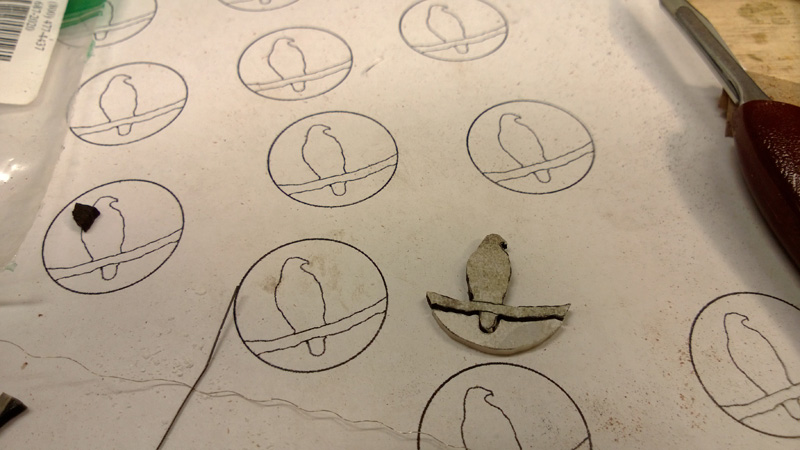
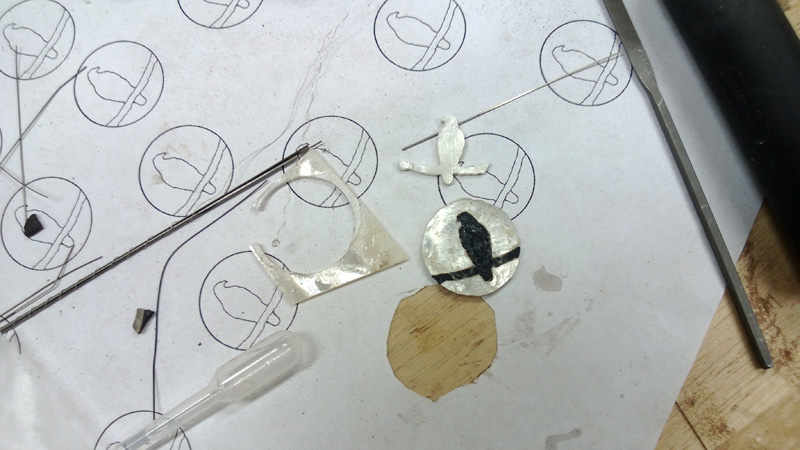
I had a fret board that I started cutting from slot one instead of the nut, so I set up the band saw and sliced a shell thickness veneer (a bit proud) for the hawk and branch. I glue a template I made in photo shop from a picture and cut away
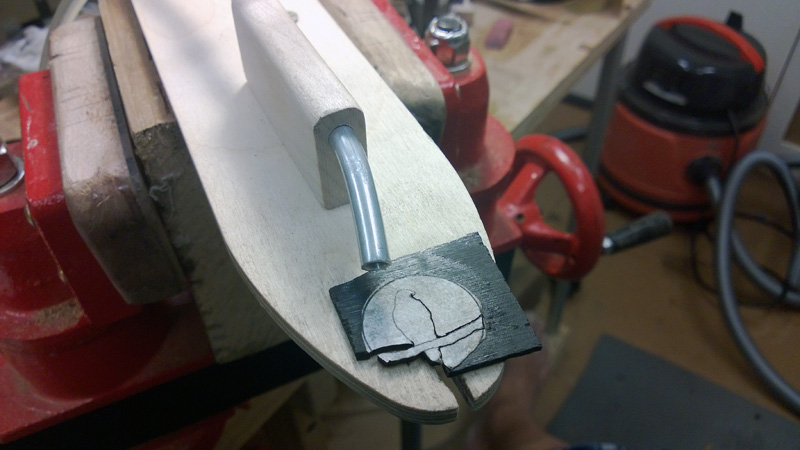
I do the same with some nice white MOP gluing on the template with CA. Cutting a clean circle is harder than one might imagine. I am getting better but as you are slowly going around you need to pay attention. It is really easy to get off the line.
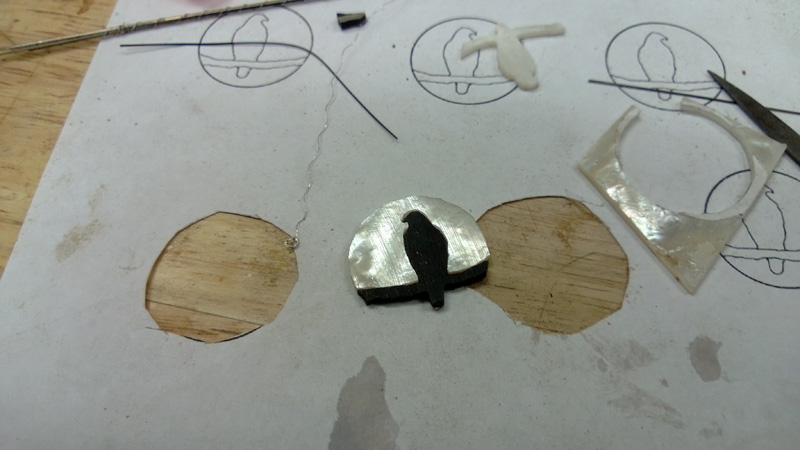
After cutting the circle I cut out the top and the bottom sections of the moon. Not shown, I held the whole thing together bottom side on wax paper and flooded with CA.
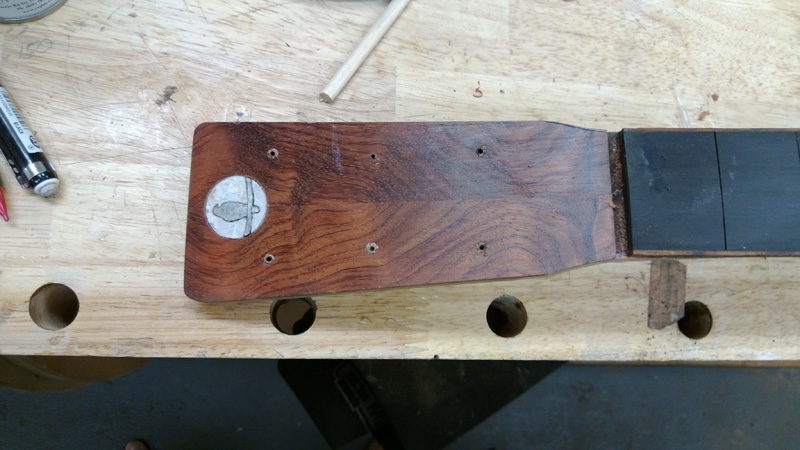
I mounted it in a 1" drilled out circle with the template paper still on and again flooded with CA. After that I was able to finish sand the head stock until the inlay was level. Of course I was not perfect so I went back and marked the small gaps with a black sharpie and willed them with even more CA.
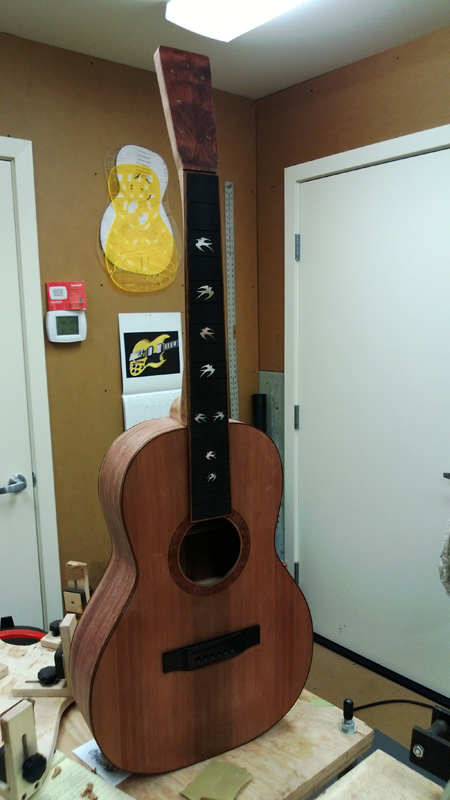
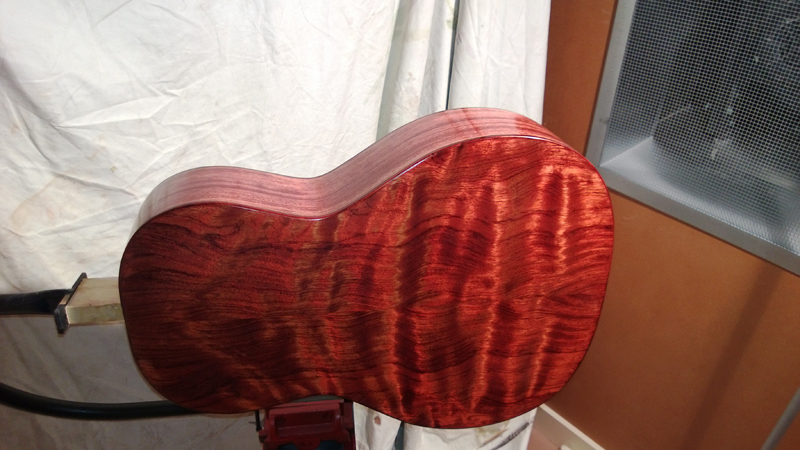
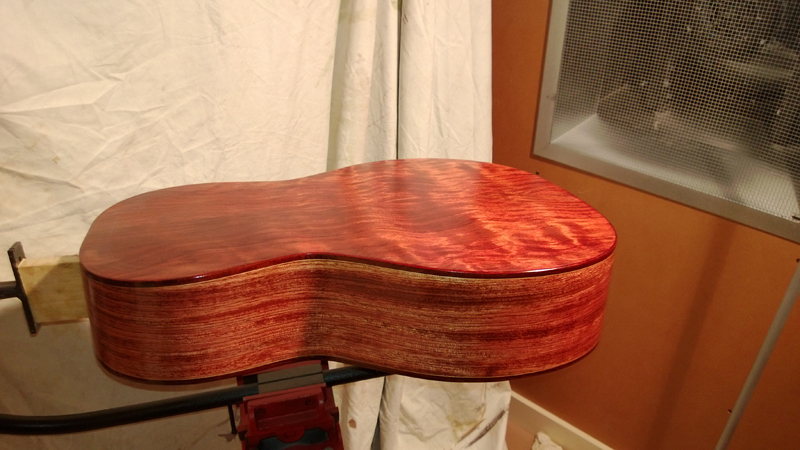
March 27th 2013
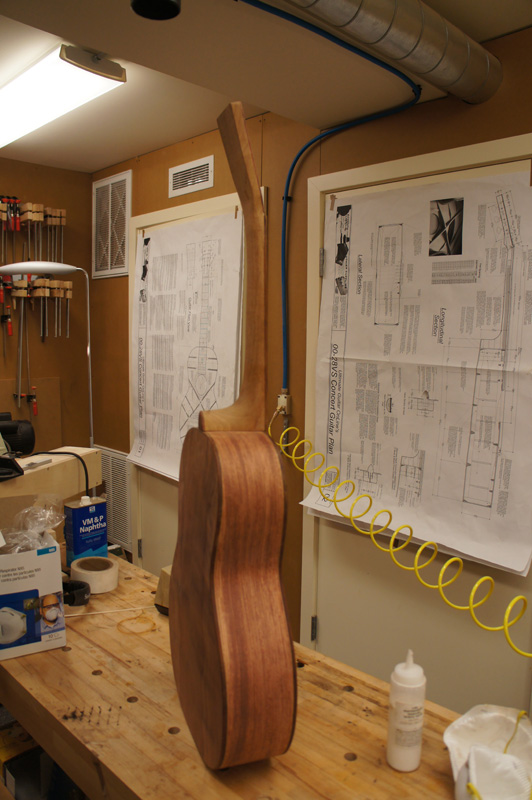
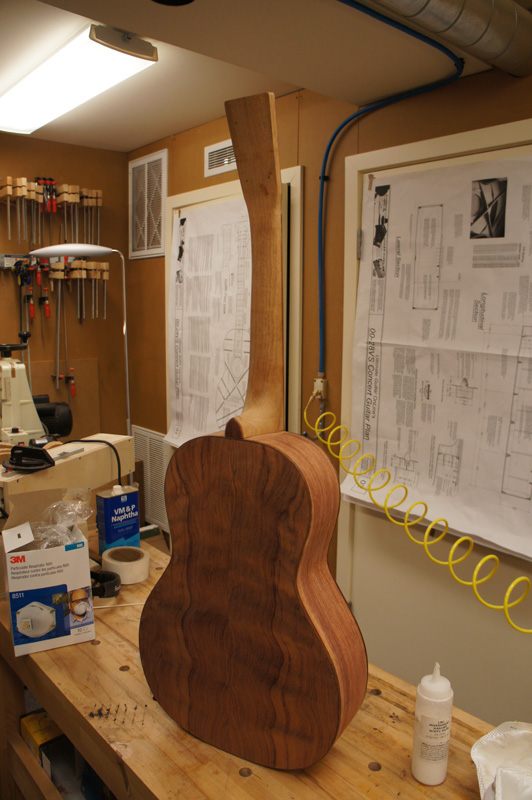
I am not sure that the more boring bobinga sides work with the fancy waterfall back. The color looks OK, but what can one do; I cracked one of the fancy sides when I started many months ago so I grabbed another set of bobinga sides that I had. It is noticeable enough that someone could think I made it as a design choice, albeit a poor one. I am sure my niece will like it and the overall look of the guitar is going to be good.
Here are some pictures after 2 regular coats of zpoxy sanded back and a thinned (10% added alcohol) zpoxy wiped on with a cotton rag.

Next Page
| 